
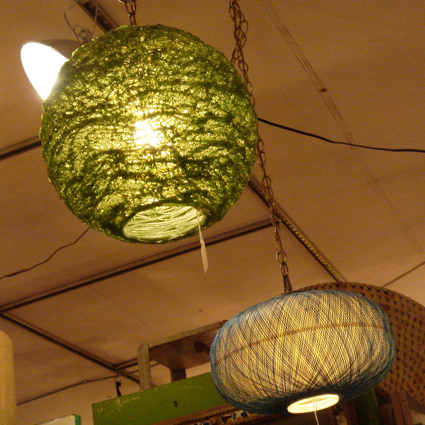
Today on I Love to Create I’ll walk you through the trials and tribulations of making a string lamp of your very own.
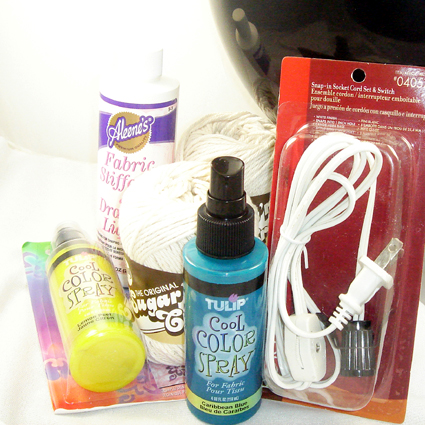
SUPPLIES
Aleene's Fabric Stiffener & Draping Liquid
Balloon
Spray Bottle
Water
100% Cotton Yarn
Tulip Cool Color Spray for Fabric
Light Kit
Ball Fringe
Aleene’s Hot Glue Gun Kit
Scissors
UNWINDING YARN
The first thing you want to do is convert your yarn from a ball to a hank, this will make it easier to dye. Pull the string from the ball and wrap around your hand and elbow like you are wrapping a long electrical cord.
DYING YARN
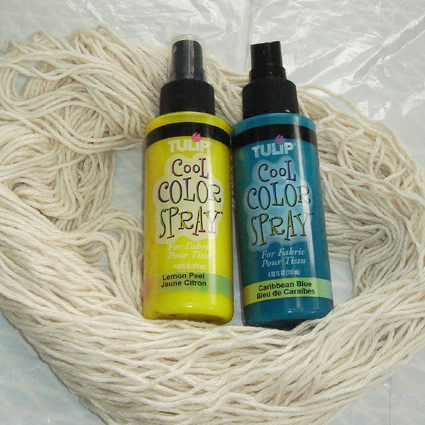
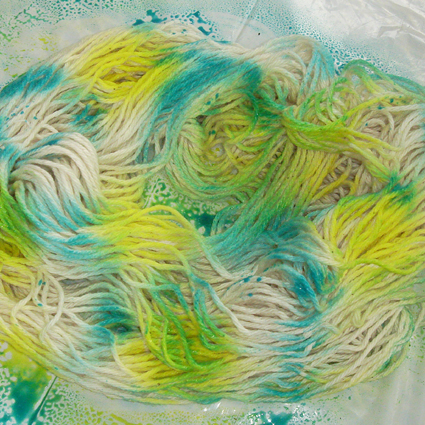
Next take your hank of cotton yarn outside and place on a piece of plastic. Choose two shads of complimentary Tulip Cool Color Spray. I opted for yellow and teal so that when they mixed it would be green. Spray your yarn in various spots. Allow to dry 72 hours and wash in laundry machine.
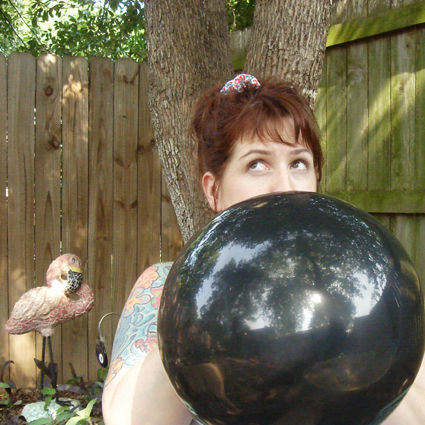
BALLOON
Next step blow up your balloon. Whatever size balloon you choose will be the size of your lamp. The balloon acts as a form for your lamp.

FABRIC STIFFNER
Wearing gloves saturate your dyed yarn with Aleene's Fabric Stiffener & Draping Liquid and wrap around your balloon in an arbitrary pattern. Be sure to try and get even coverage with your yarn so that no spots are more thick or sparse than another. After you have finished whatever amount of stiffener is left in the bottle combine with an equal amount of water in a spray bottle and coat the balloon and string allover.
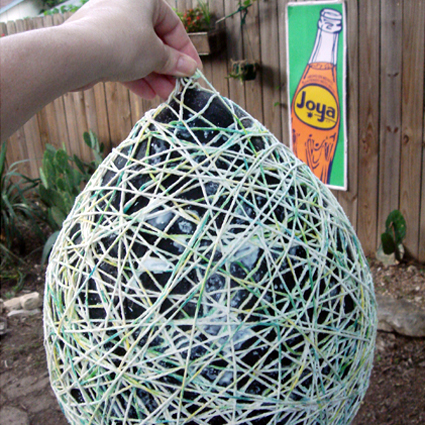
You should use the entire hank of yarn and cover majority of the balloon. Feel free to dye more than one ball of yarn for thicker coverage or experiment with using something thinner like embroidery floss or thread.
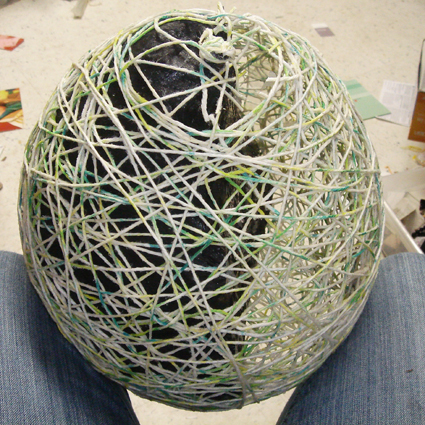
POP
After your yarn has dried completely, pop your balloon and remove from inside your lamp.
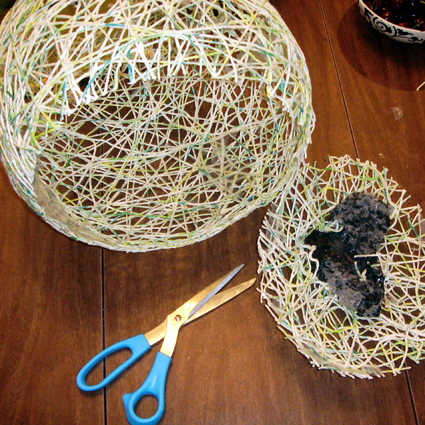
CUT INTO SHAPE
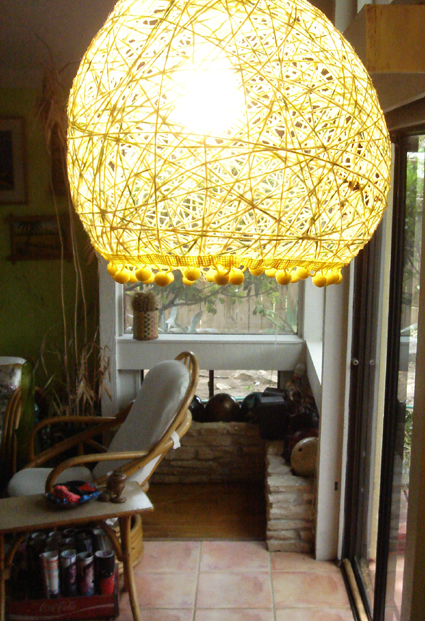
I wanted the bottom of my lamp to be open so using scissors I cut the bottom portion of the string. I also cut a small hole in the top of the lamp to insert my light kit. TIP: be sure not to cut your top hole too large like I did.

ADORN
Everything is better with ball fringe. Using a hot glue gun adhere trim to bottom edge of lamp.
LIGHTS, CAMERA, ACTION
Insert your light kit into the lamp, plug that bad boy in and enjoy!
If I knew then what I know now I would have done a few things differently. Like for instace I would have used a bouncy ball instead of a balloon to get a rounder shape like the Crafty Nest suggested. I would have been a little more heavy handed with the dye. Instead of trying to wrap the balloon with yarn from the hank I would have put the yarn on a pen or stick like string on a kite. I wet the string with stiffener as I wrapped and I wish I had listened to the advice on ReadyMade and wrapped first and wet the yarn later. Other than a few minor craftnical difficulties I thought my lamp turned out pretty dang crafty and cute.
(Taken from Naughty Secretary Club)
Комментариев нет:
Отправить комментарий